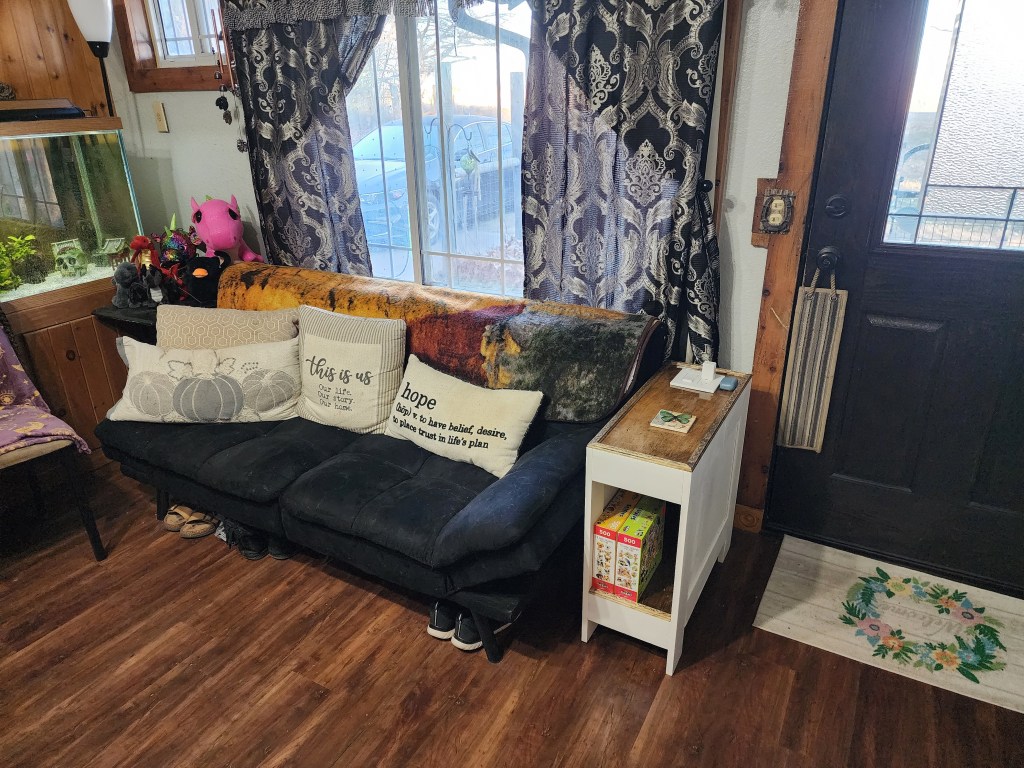
This DIY end table was an idea I came up with to fit a specific spot in our living room. I knew what I wanted and thought it would be better to just do it ourselves.
I wanted a simple end table that would fit the narrow space between the chaise lounge and the front door. It would need power (for charging phones or a small lamp), and match our aesthetic. Disclosure: this is not intended to be a tutorial- we are just showing off what we’ve done, but I do always hope it can help someone with their own ideas!
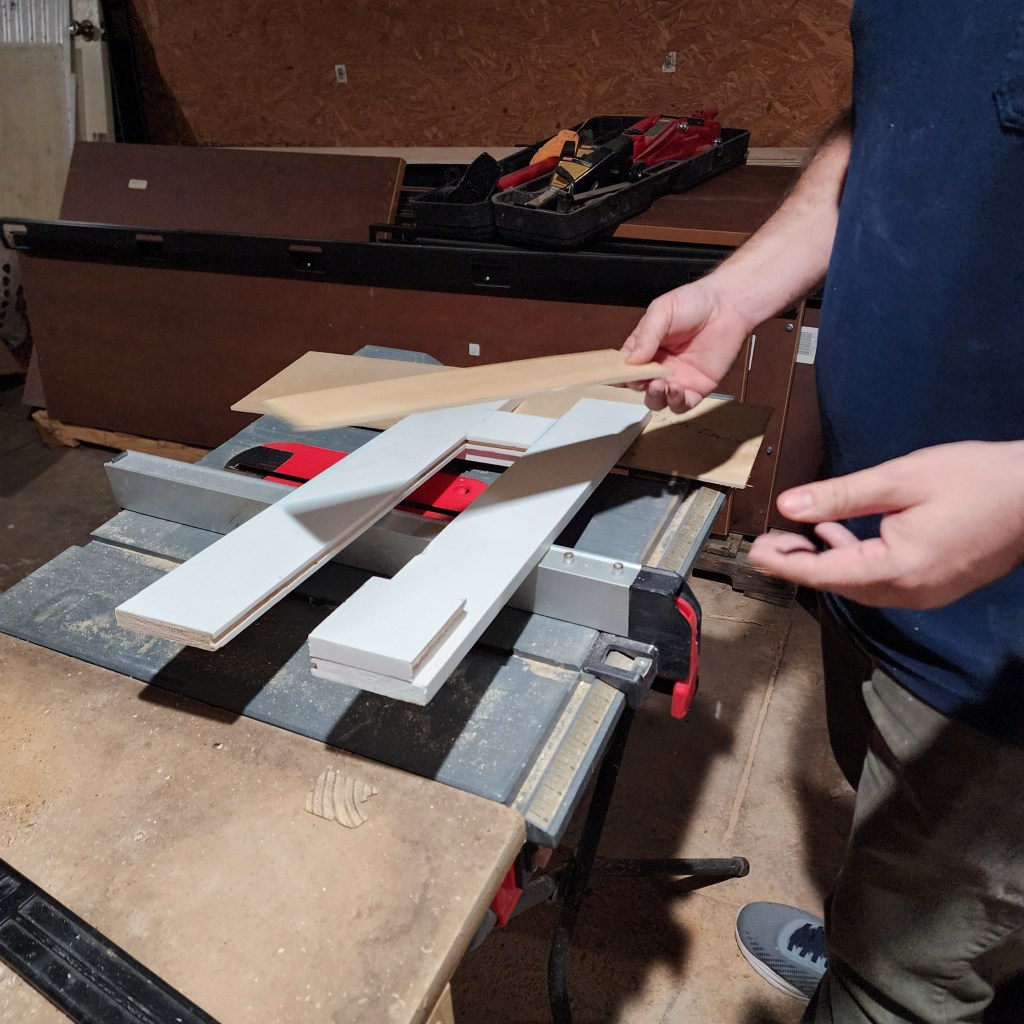
We began by routing out some primed trim pieces that I picked up at our local discount depot (Trax), to create a channel for a plywood panel to set into. This is similar to building a shaker style cabinet door.

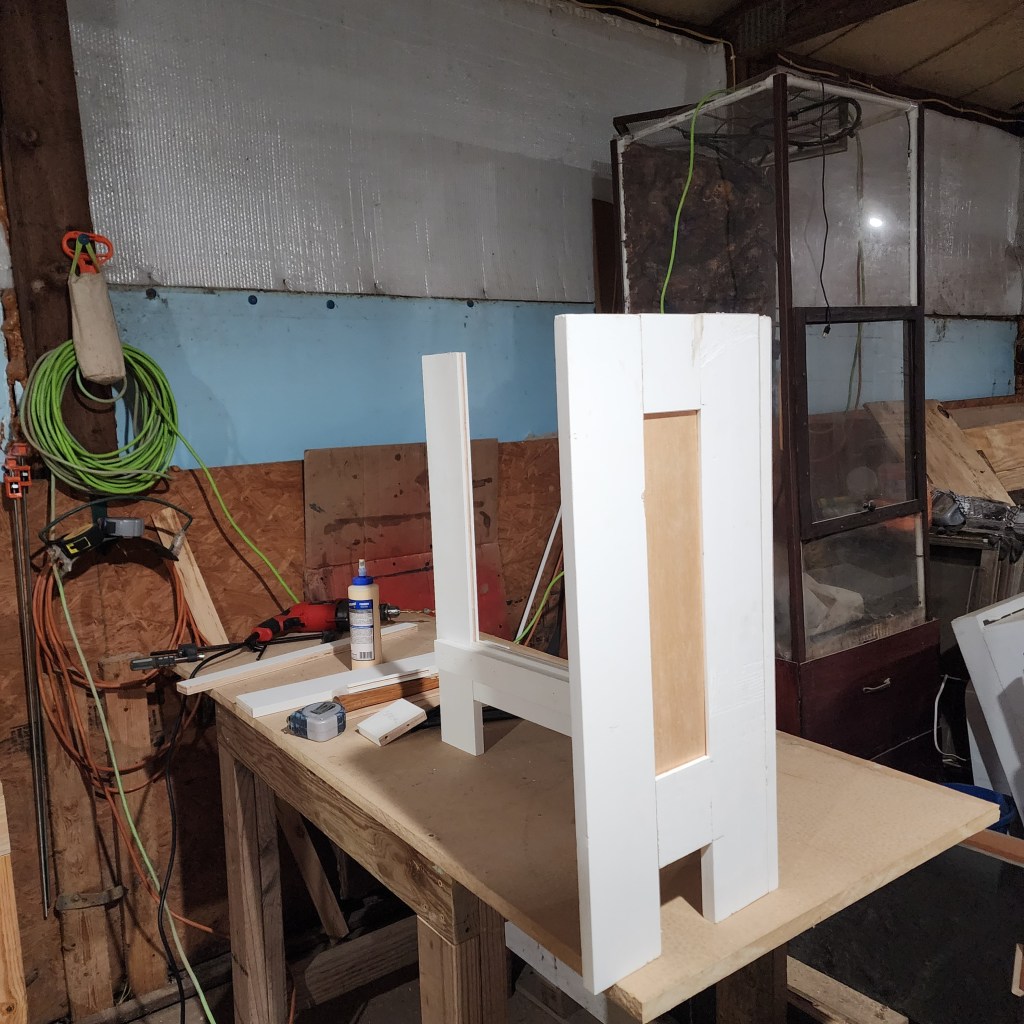
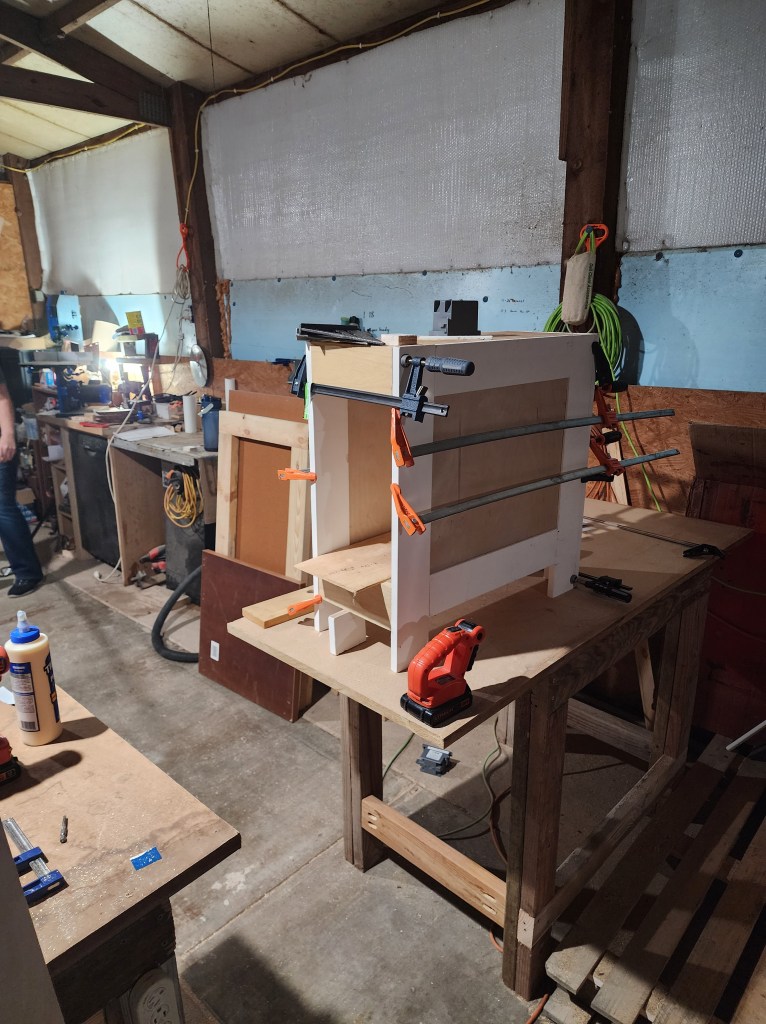
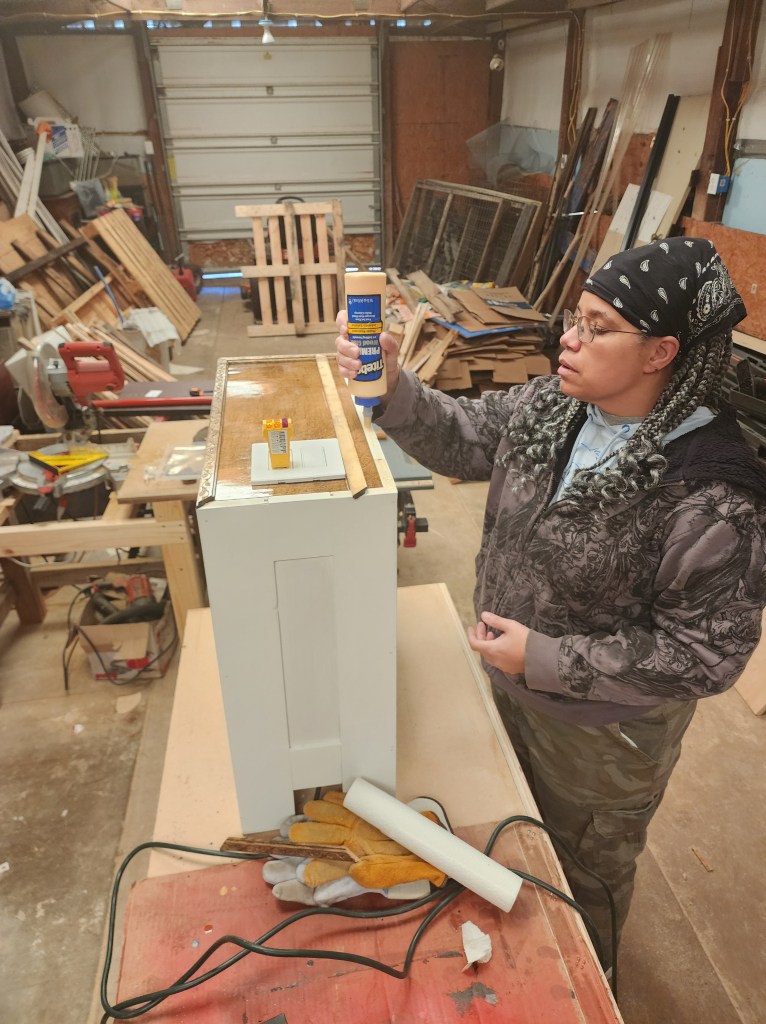
Doing some gluing. The hurry up and wait step of any build.
The side panels, the table top, and the shelf were cut from a piece of 5.2MM Lauan Plywood.
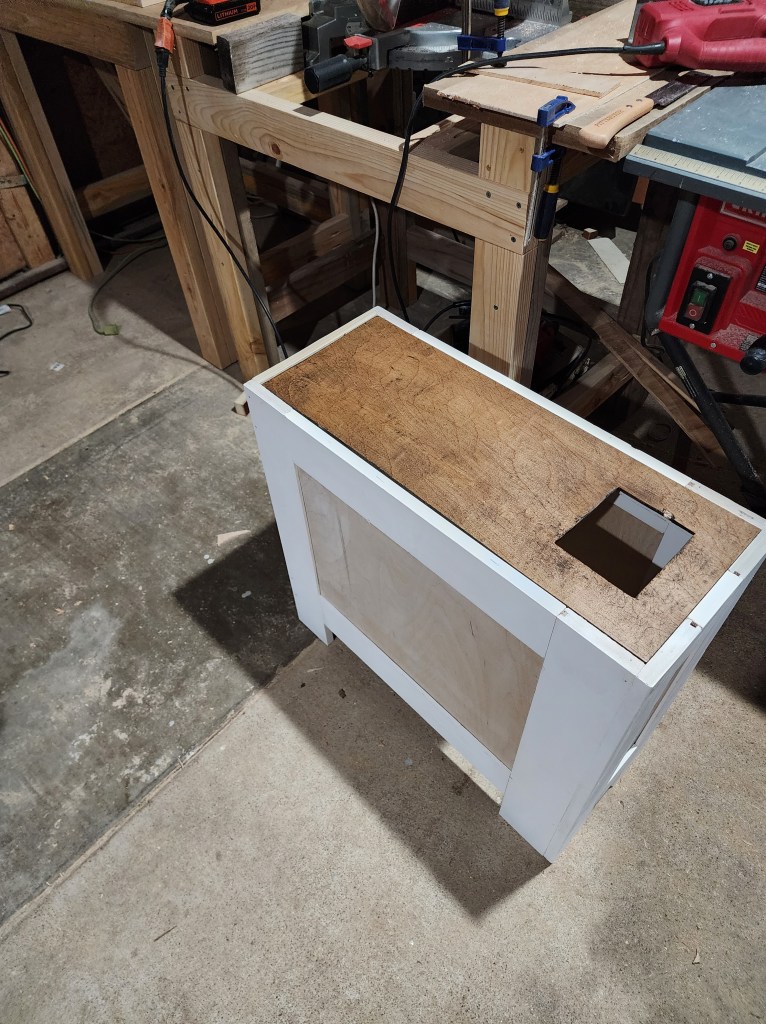
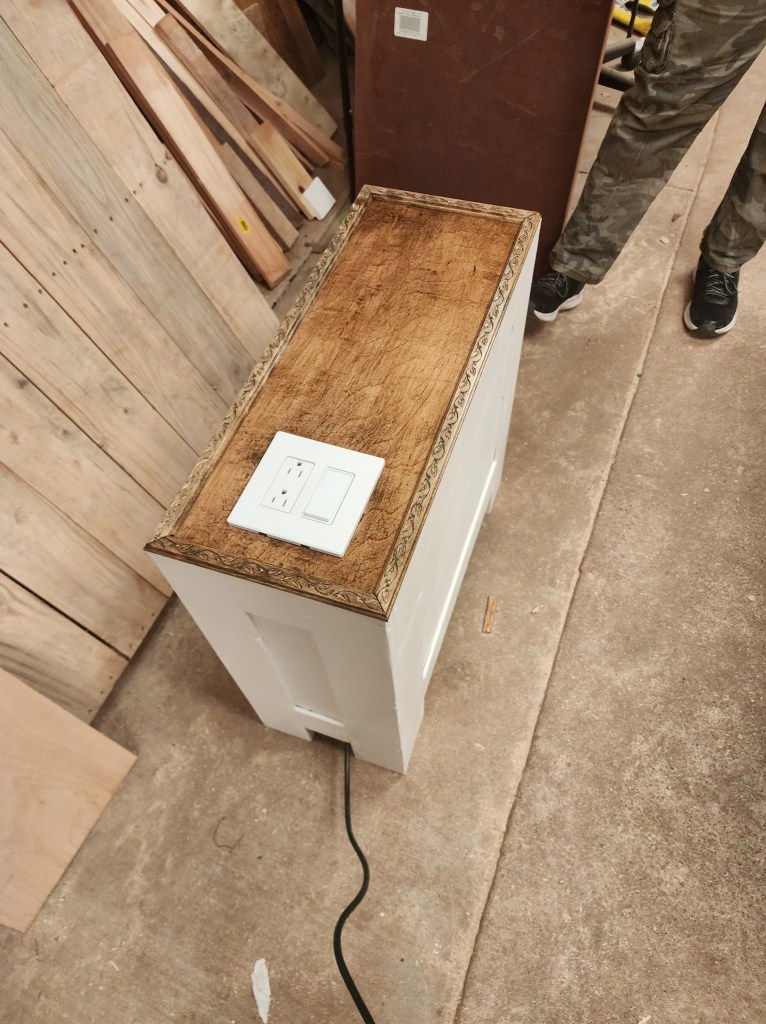
We cut out a hole for the power, and put a coat of Varathane’s Roanoke stain on the table top along with a few of coats of clear polyurethane.
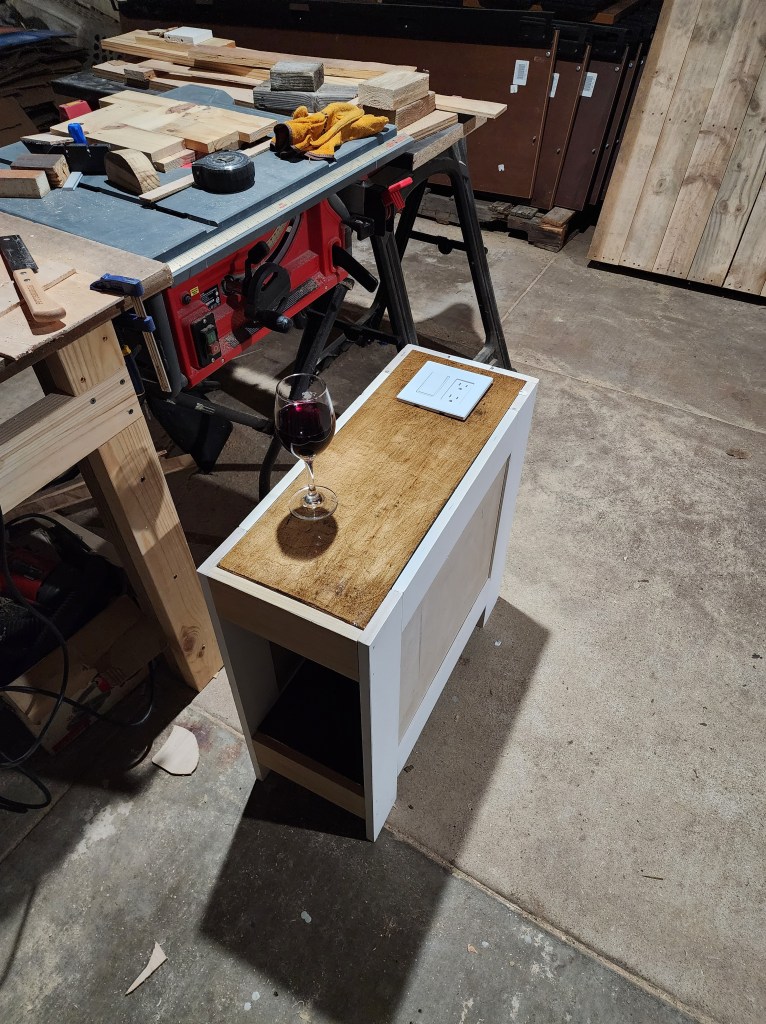
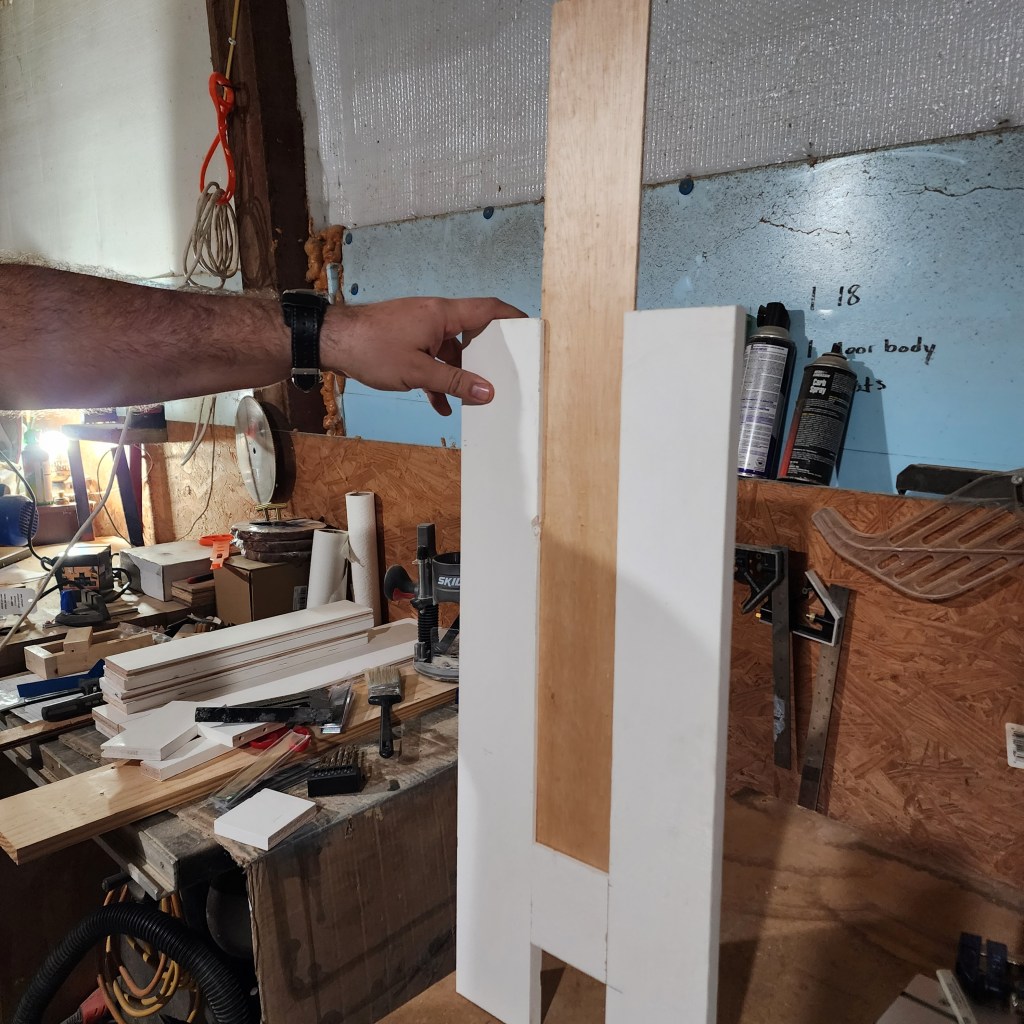
It is important to do a ‘dry fit’ every step of the build before committing… it holds that wine glass pretty well. (safety disclosure: never combine wine and woodworking; that’s our thing, get your own.)
Ryan was kind enough to wire up the outlet and switch for me– no wine involved with that step.
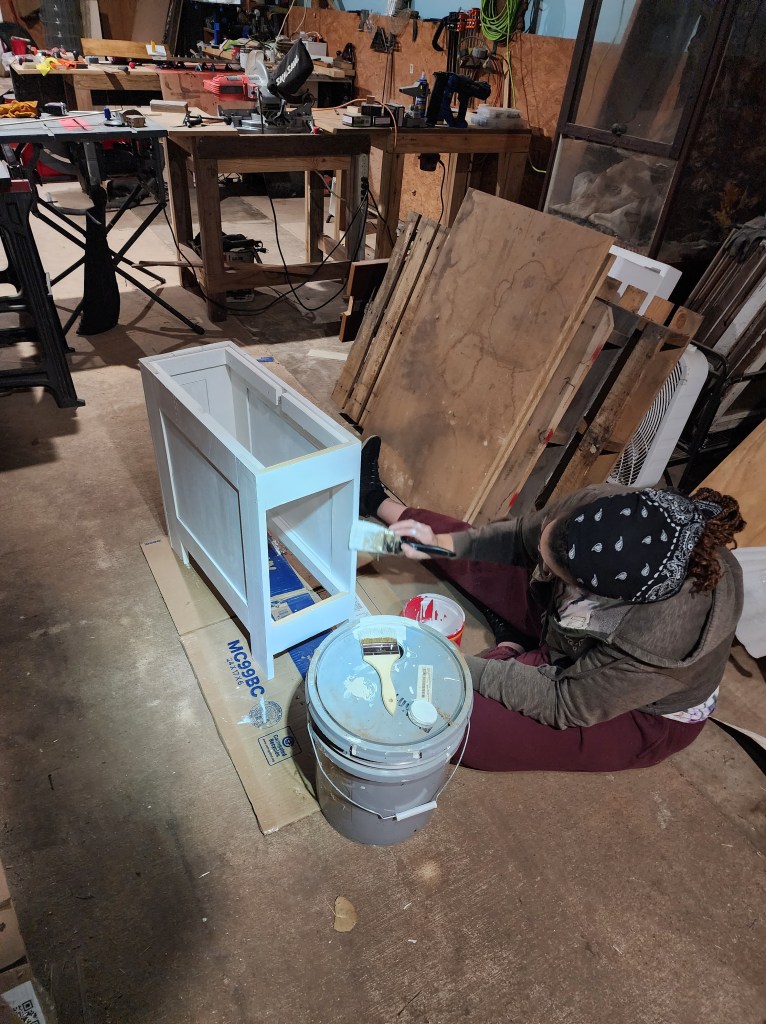
Next step, Paint! I originally wanted at least one side panel to be chalkboard paint for the grandkids- but decided against it (for now, we’ll see).
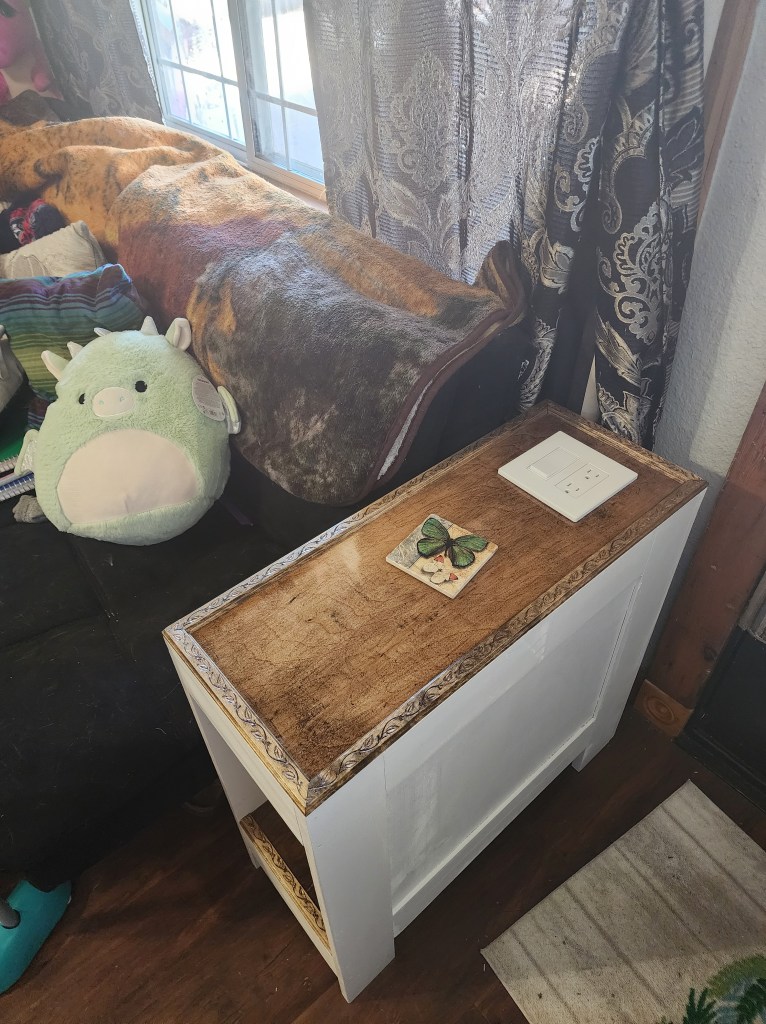
Trim Pieces! We used my favorite, and because it matches the other builds we’ve done, the ivy trim. The trim pieces we stained with the same Roanoke stain but lighter– we wanted some contrast from the table top. (ignore the pallet of cardboard in the background, we’ll be laying that in the garden soon).
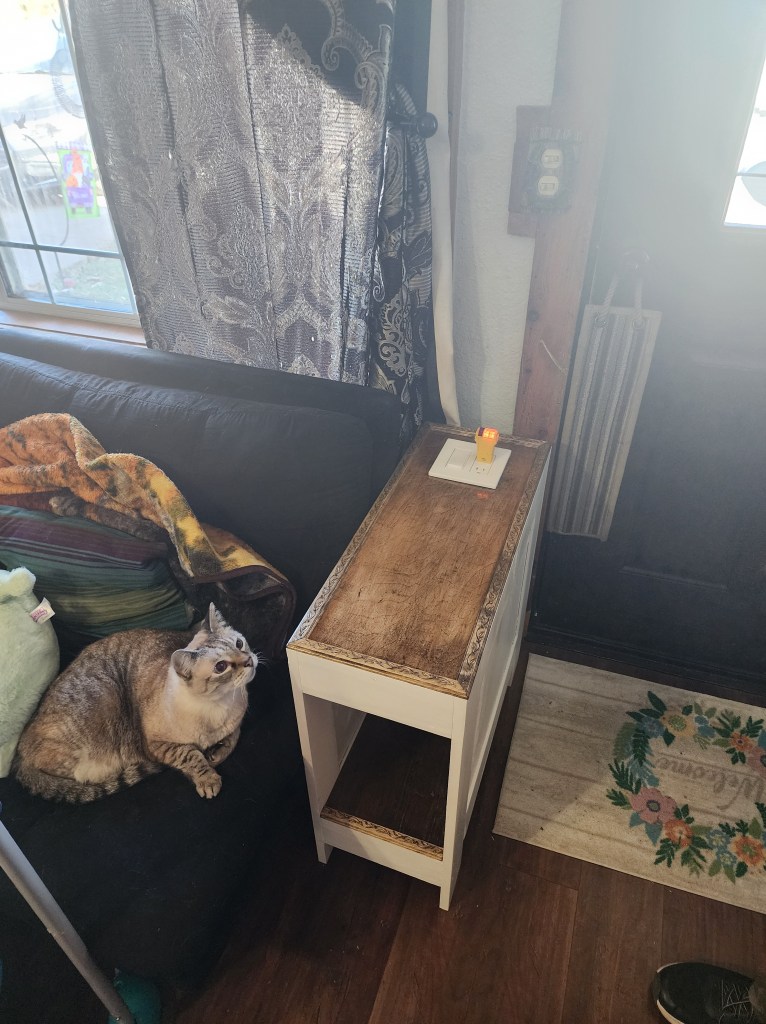
It’s always wonderful seeing something you’ve dreamed up become a real piece in your home. It turned out perfectly (well, mostly perfectly).


This is so beautiful! Great job!
LikeLike